Step-by-Step Plein Air Landscape Painting Demo
Here are some process shots from a painting I did this spring in New Harmony, Indiana.
Step 1 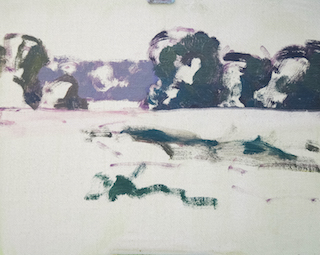
Starting with a medium to light violet,
I sketched the scene on 315 Clausen.
Value is the key here.
I don't want to waste time having to go back and lighten my drawing to control contrasts.
Color is less important, and I may use a different hue for each painting. This stage also shows colorful shadow shapes and a bit more drawing to the middle ground trees.
Step 2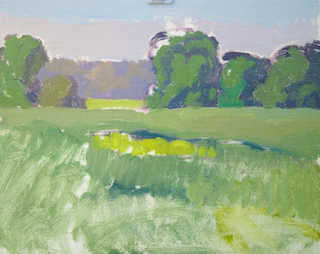
Determine biggest, most important value or color mass.
The grassy field has a huge influence on my color and value perceptions. It's also a key player in the sentiment I am trying to convey.
To make the landscape read, I know the light side of the tree must be a value in-between the field plane and the tree shadows.
I also try to limit my color intensities to the upright trees and not all of the masses.
Step 3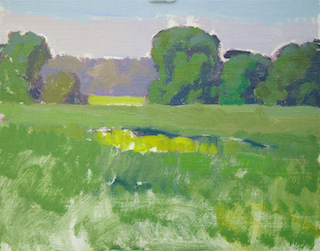
Don't get caught watching the paint dry!
Get it filled in.
Only do what you believe will help you make informed choices about the next few steps.
Establish important relationships.
Try to resolve the sentiment.
Step 4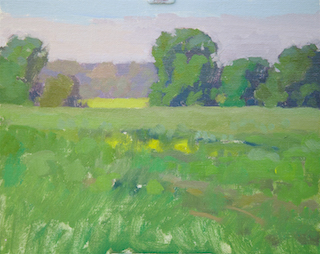
At this point, with the important relationships built, I can take a breather.
I cut into the trees with sky color to give a more natural organic feel.
Adding bird holes, starting to modulate the color of the foreground grasses.
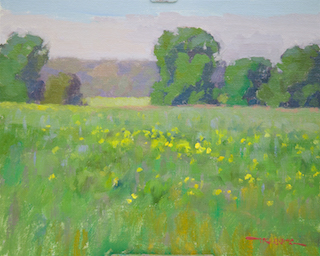
Step 5
Finish.
Now I can add some "Danger color"...but very thoughtfully.
To help tame the greens, activate the mass and give visual excitement, I add a complementary violet.
I saturate the canola in the foreground and make sure it is less in the background.